Quick Start:
Step 1: Open the Excel spreadsheet containing your VAT return:
Click on the Excel  button to bring up the Open Excel workbook dialog.
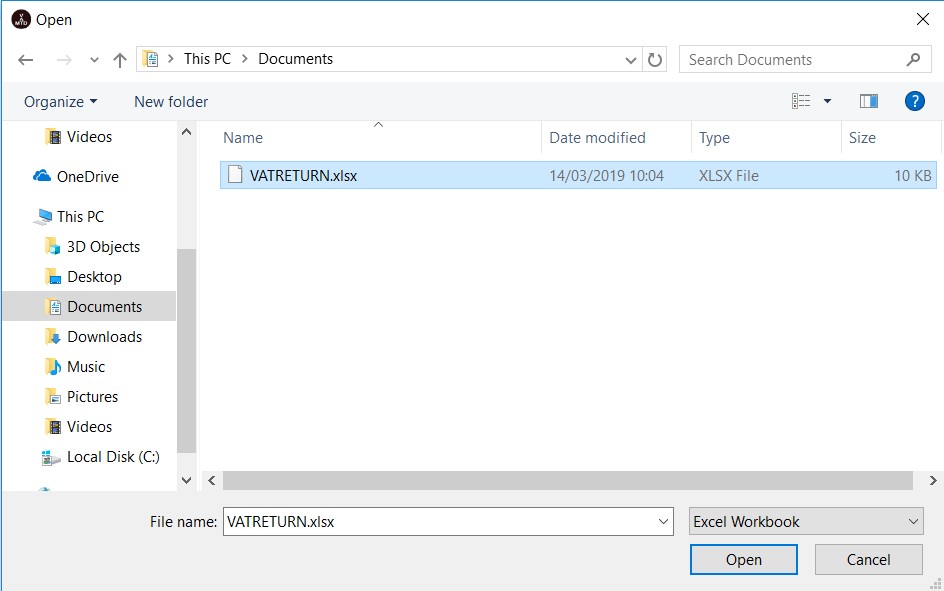
Locate the workbook containing your box 1 to 9 information, select it and then click on Open.
Step 2: Select the worksheet which has your box 1 to 9 figures:
Select the worksheet using the drop down. The grid on the left hand side of the form will show your worksheet.

Step 3: Link cells from your worksheet to the Box 1 to 9 figures for your vat return

Click on the VAT box or the VAT label for the box you want to link. Then click on the cell in the grid which contains the Box Value.
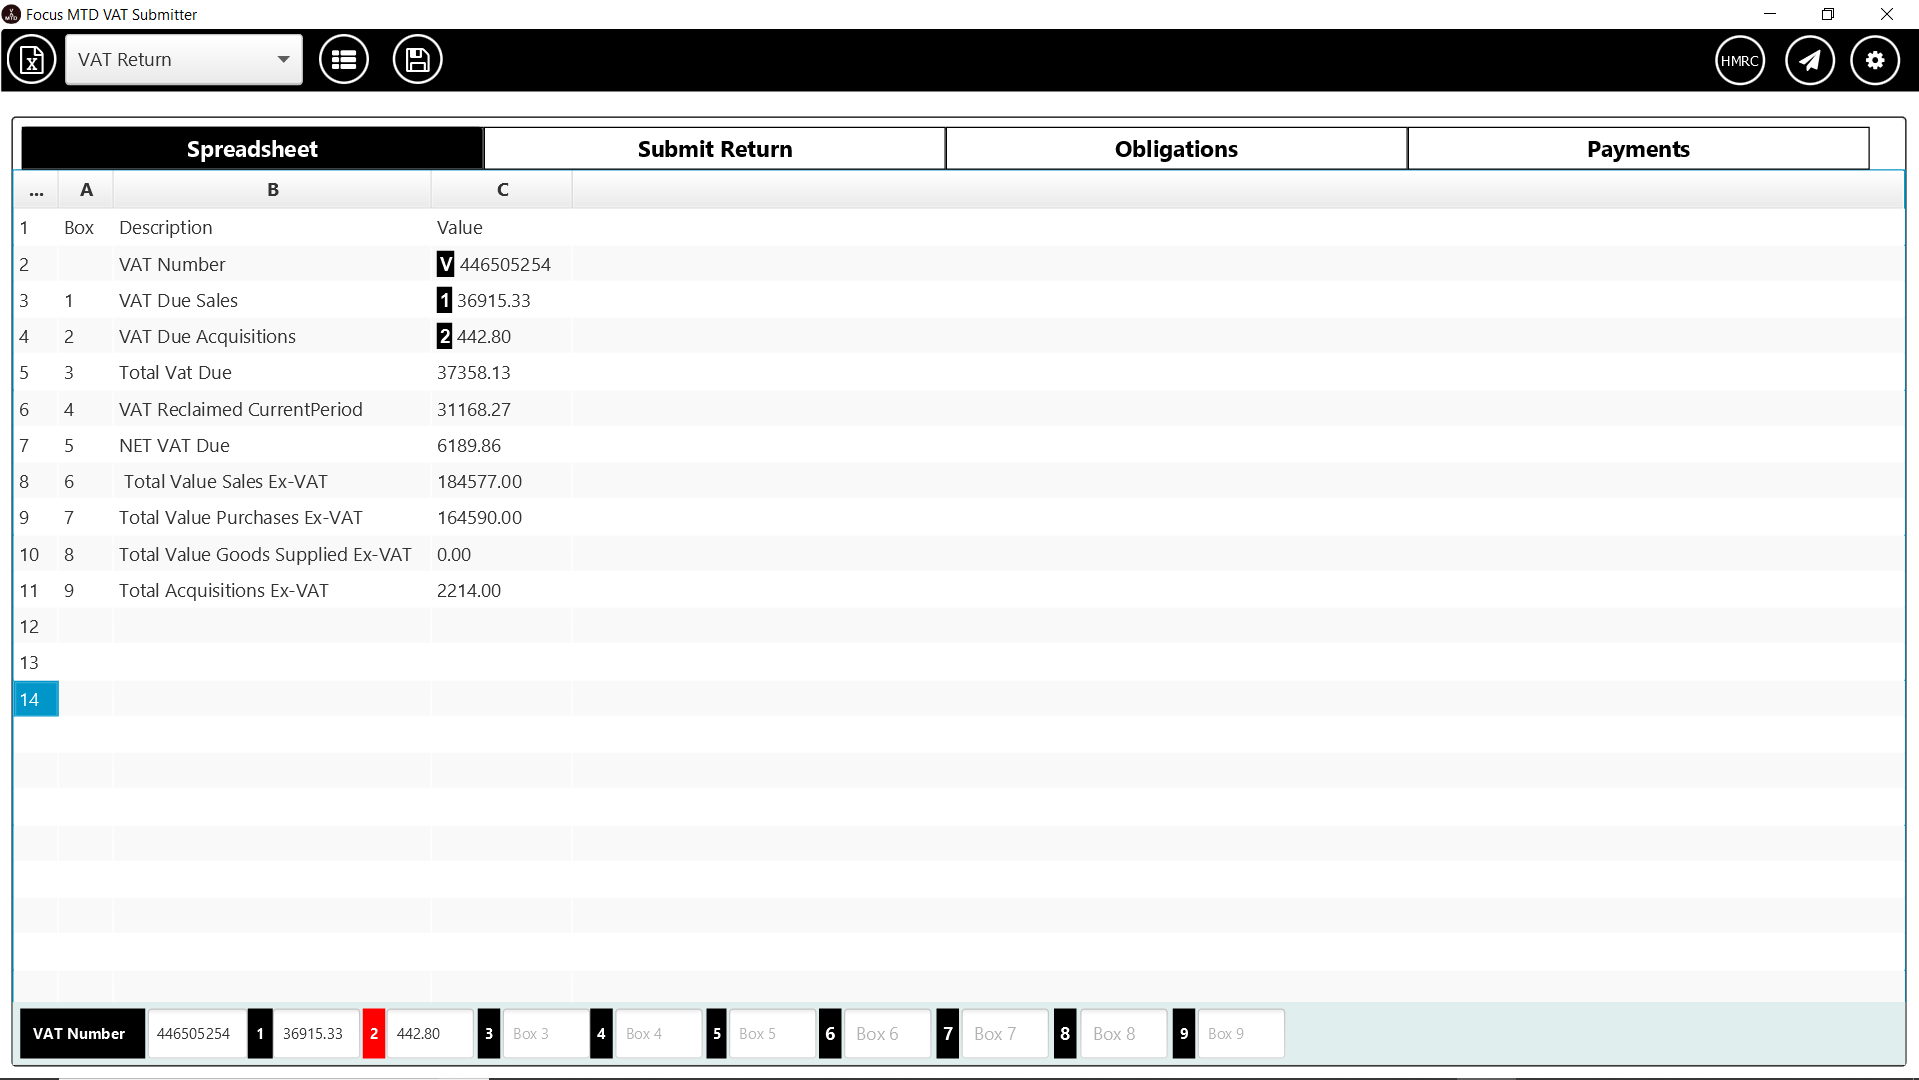
Link All Boxes.
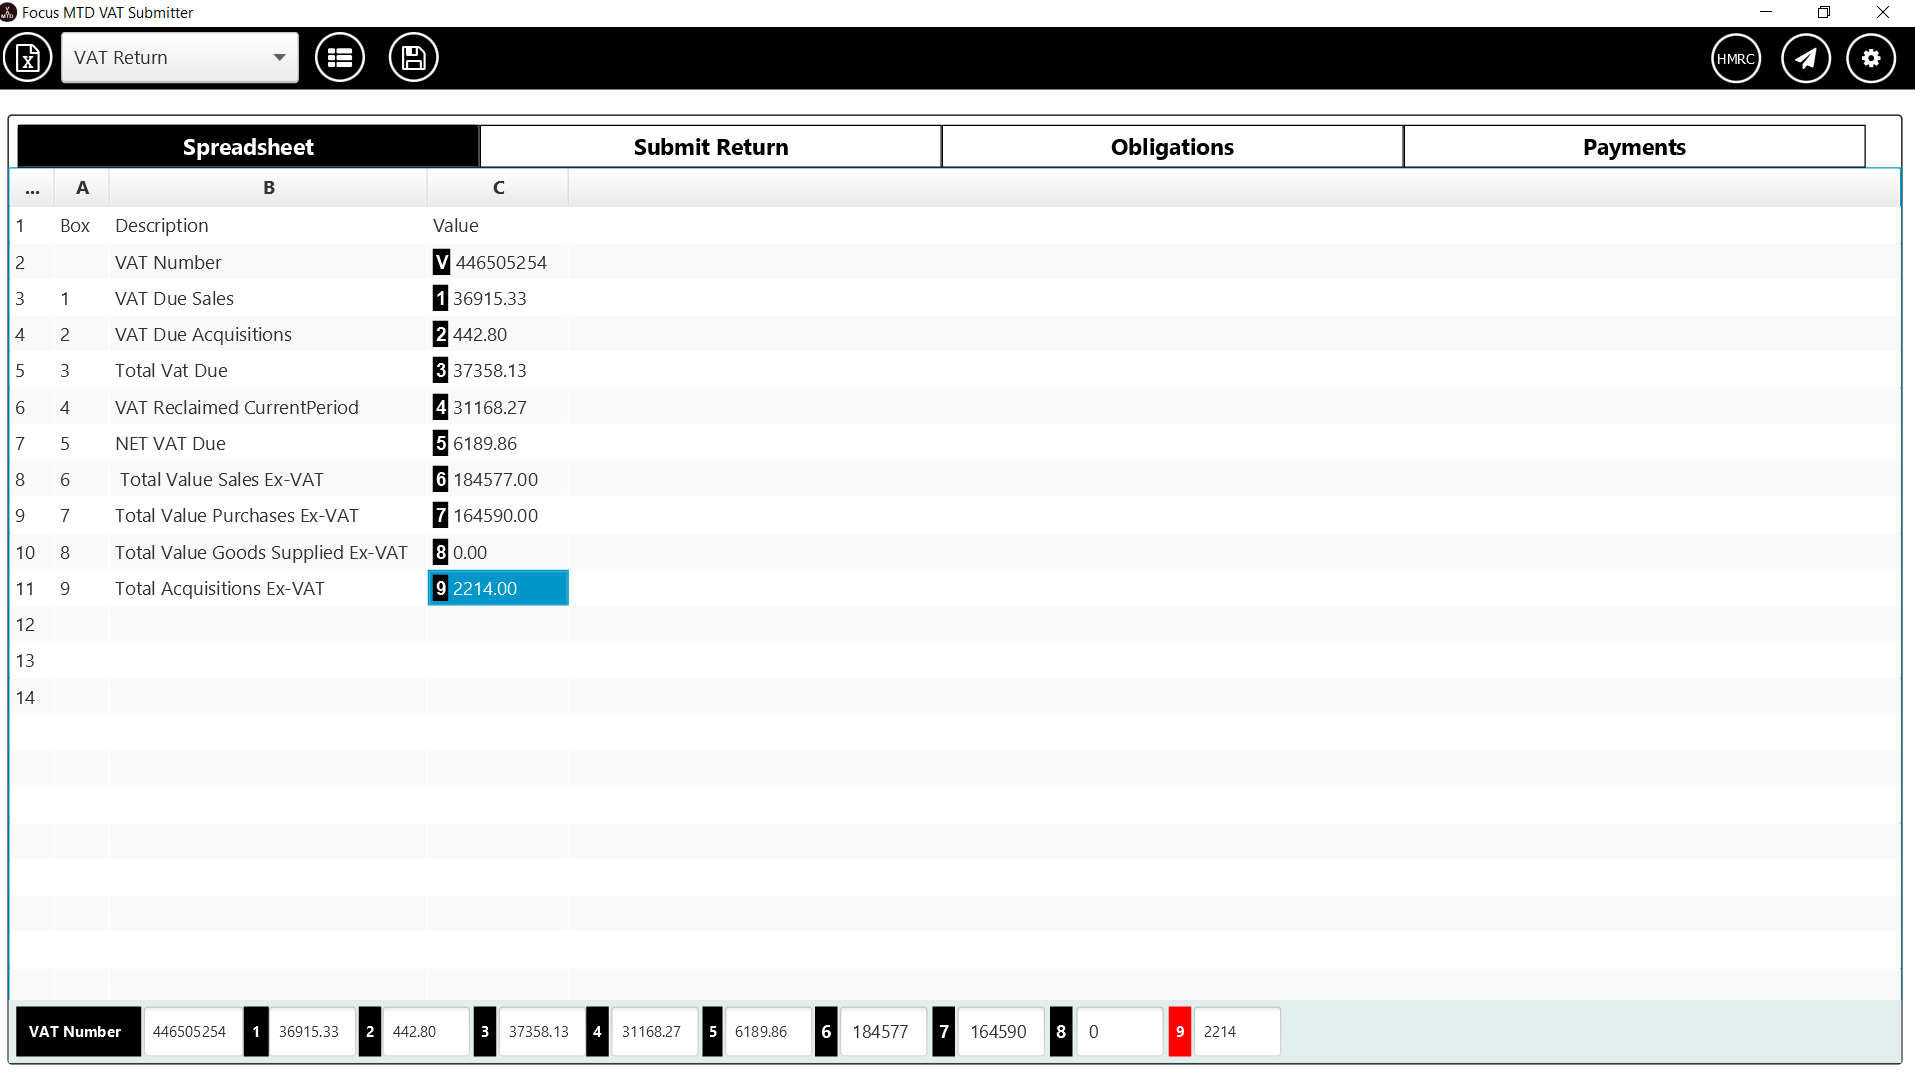
Step 4: Review Your VAT Return
Click on the Submit Return tab to Review your return.
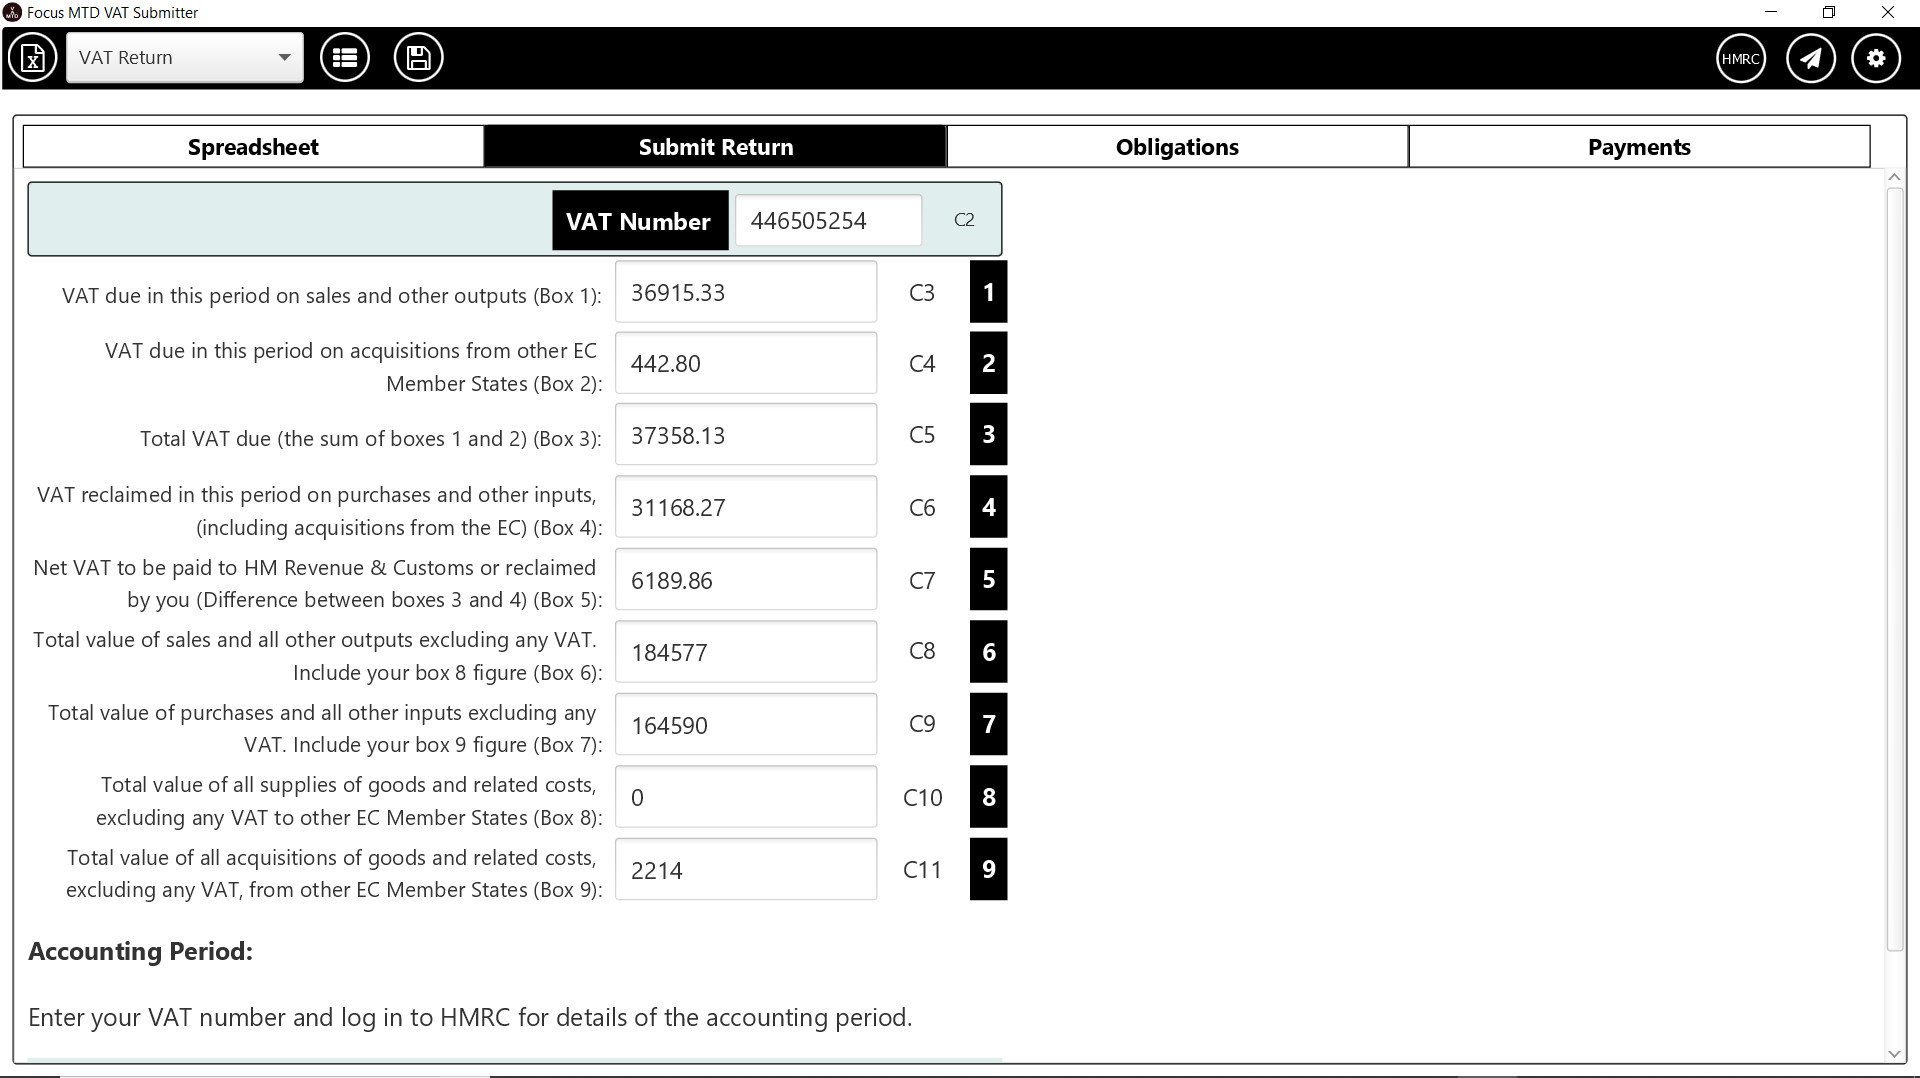
Step 5: Connect To HMRC
Click on the HMRC button  to connect to HMRC.

Follow HMRC’s instructions to Log In.
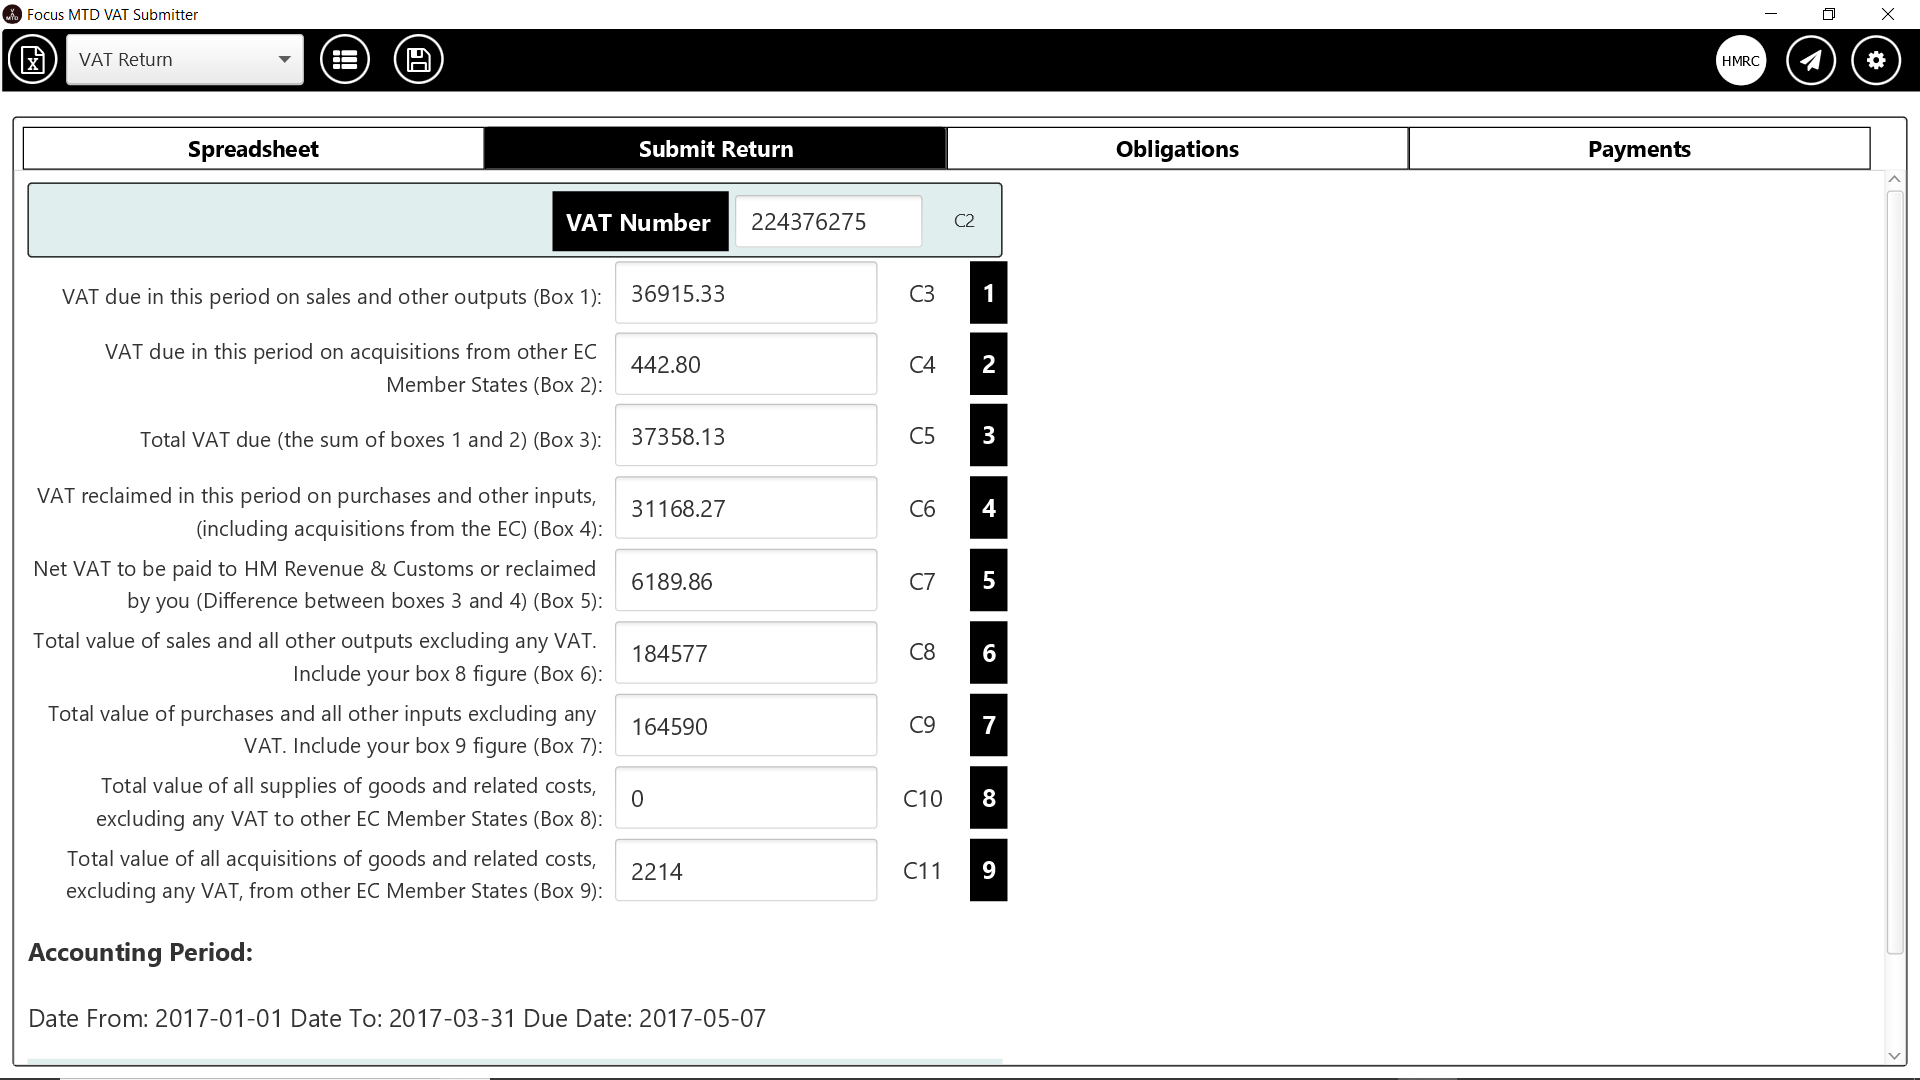
Once logged in you will see the Accounting Period for the VAT submission.
Step 6: Submit Return
Press the Submit button  to submit the return.
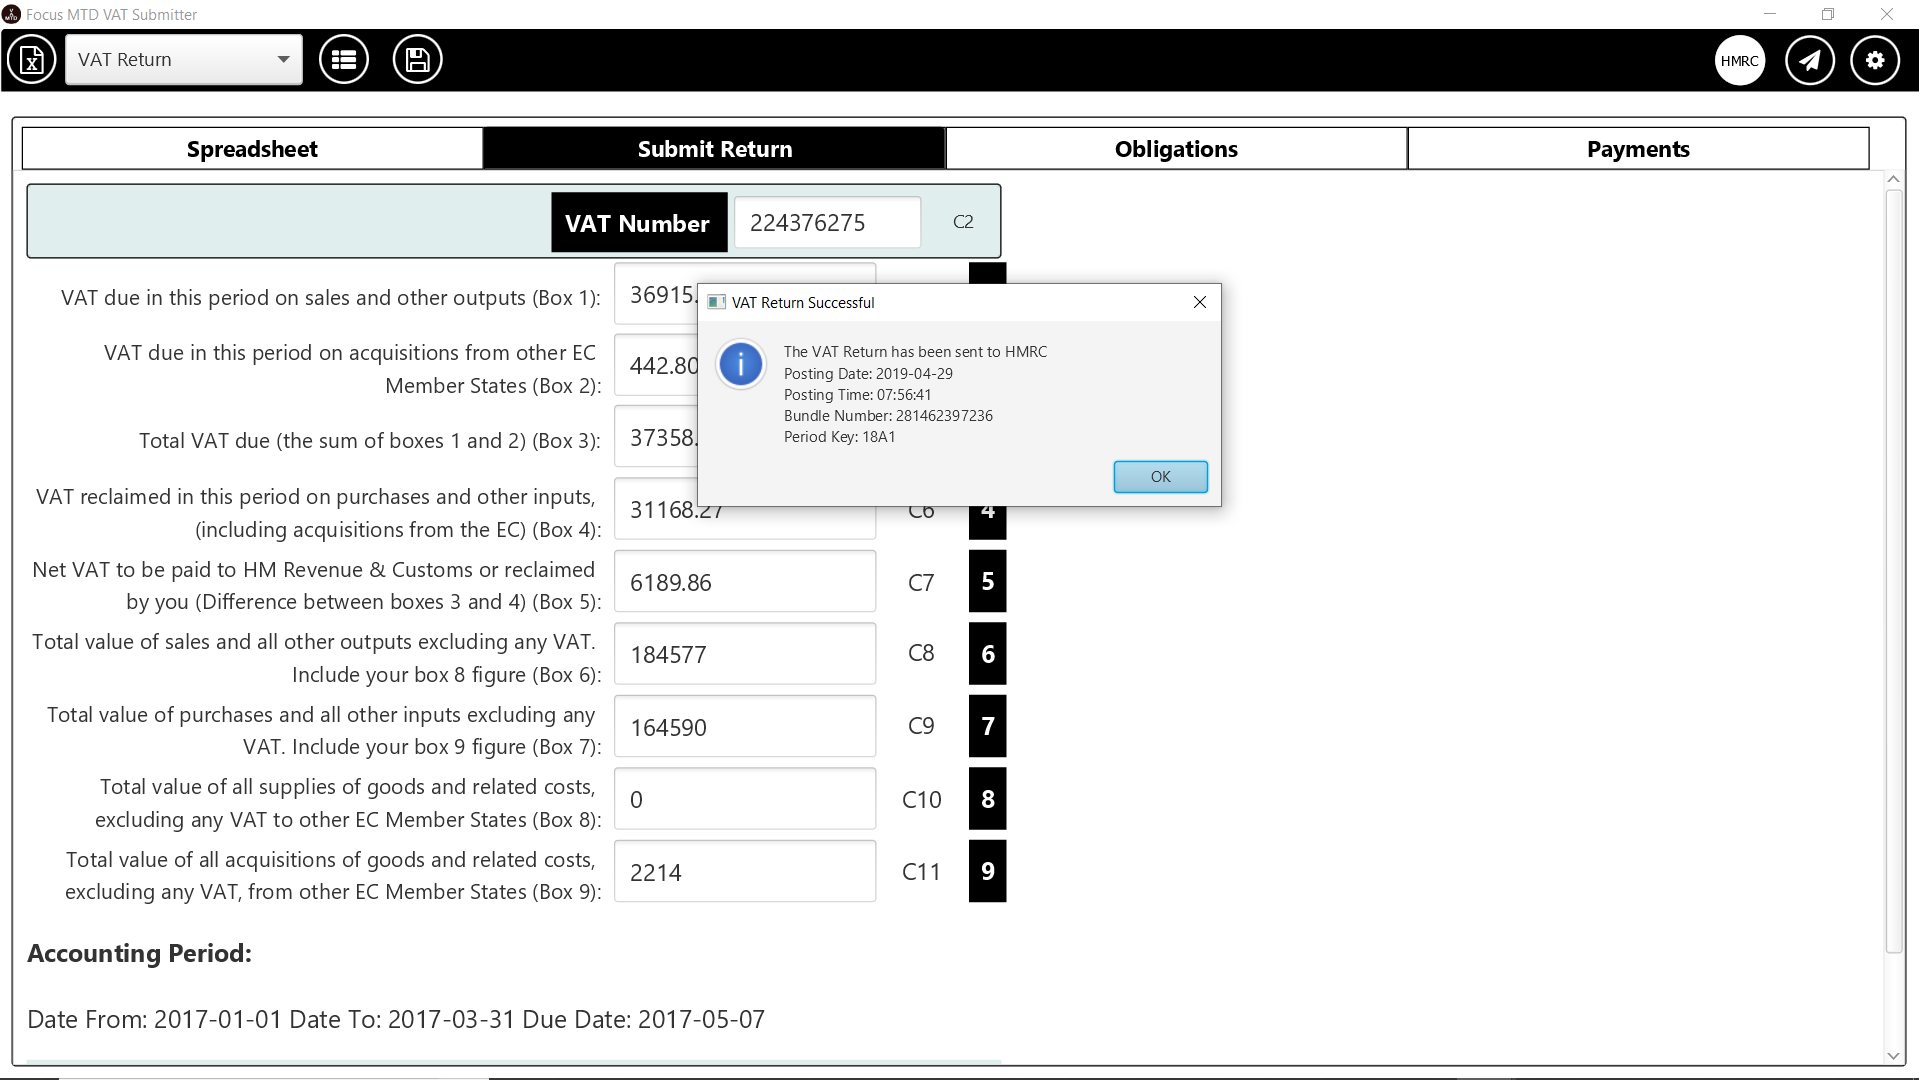
A log file will be saved in case HMRC have any queries about your return.
Using A Template:
You can save your link information to a template if your worksheets are of a consistent layout. Click on the save button  and enter the name of the template.
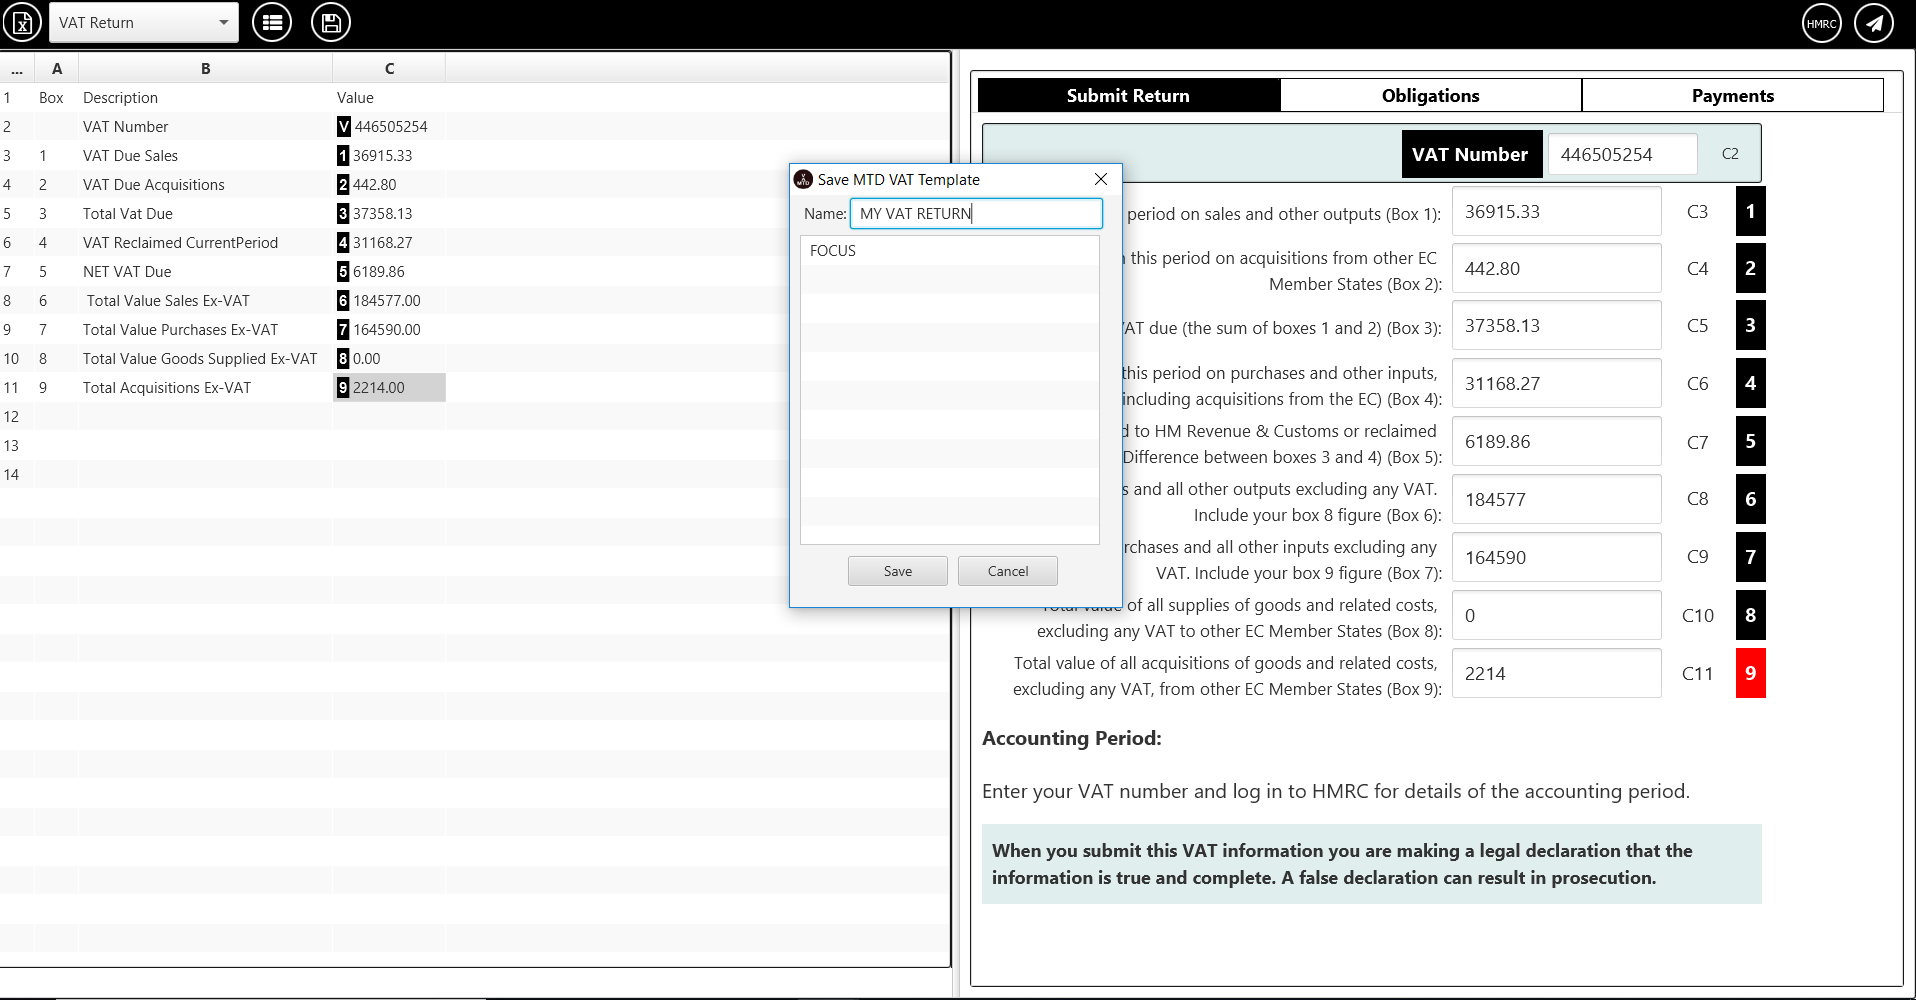
To use the template to link the boxes for a VAT return; open the workbook and select the worksheet
Then press the template button  to select a template.

Template And Log Files:
By default template and log files are stored in the user\appdata\roaming\MTDVAT folder. You can change the location by clicking on the settings button 

